
SINTRON
Sintron ST-004 ST-005 web page setting details
Part 2.1 — Wi-Fi and Bluetooth
At the top of the setup page are three settings: the device name, which connection the unit uses, and your Wi-Fi router details. Turn on Wi-Fi, Bluetooth for the app, or both together — whichever your setup needs.
Note: It is recommended to avoid using mesh networks. Certain mesh routers, such as the TP-Link Deco AC1200, have known compatibility issues. Please note that this is an issue with the TP-Link router, not our device.
This name will appear in the app as your device name.
Connection:
✓WIFI BLE (for APP)
PS. Replace to your WIFI router’s SSID and Password to connect to Internet, only supports 2.4G Frequency Wifi. Please Don’t Use 5G or above Frequency wifi. You can ignore this if you only want to use Coins or App Payment
The setup page as it appears in your browser.
Device name
The name you enter here is what the unit shows in the Email notification and ScanPay app (if enabled) — it's what a customer sees when choosing a machine from the list. If you run more than one unit, give each one a name that sets it apart, such as a location or a machine number.
Your Wi-Fi details
Enter your Wi-Fi router's network name (SSID) and password so the unit can connect to the internet. If you only take coins, or take payment through the ScanPay app over Bluetooth, you can skip this — neither one needs an internet connection.
This unit only works with 2.4 GHz Wi-Fi. It cannot connect to a 5 GHz network, even if the signal looks strong. Most home routers broadcast both — make sure you pick the 2.4 GHz one when you connect.
Choose WIFI or APP?
| Wi-Fi — recommended | Bluetooth / app | |
|---|---|---|
| Needs internet | Yes | No |
| QR code on screen | Yes | No |
| How the customer pays | Scans the QR code and pays in their phone’s browser | Installs the app first, then connects to the machine over Bluetooth (must be within about 3 m / 10 ft) |
| Customer needs an app | No | Yes — you must tell them first |
The app itself
The app is published by Sintron. You do not need it to run the machine — it is your customer’s side of the payment. If you want it on your own phone to test a unit:
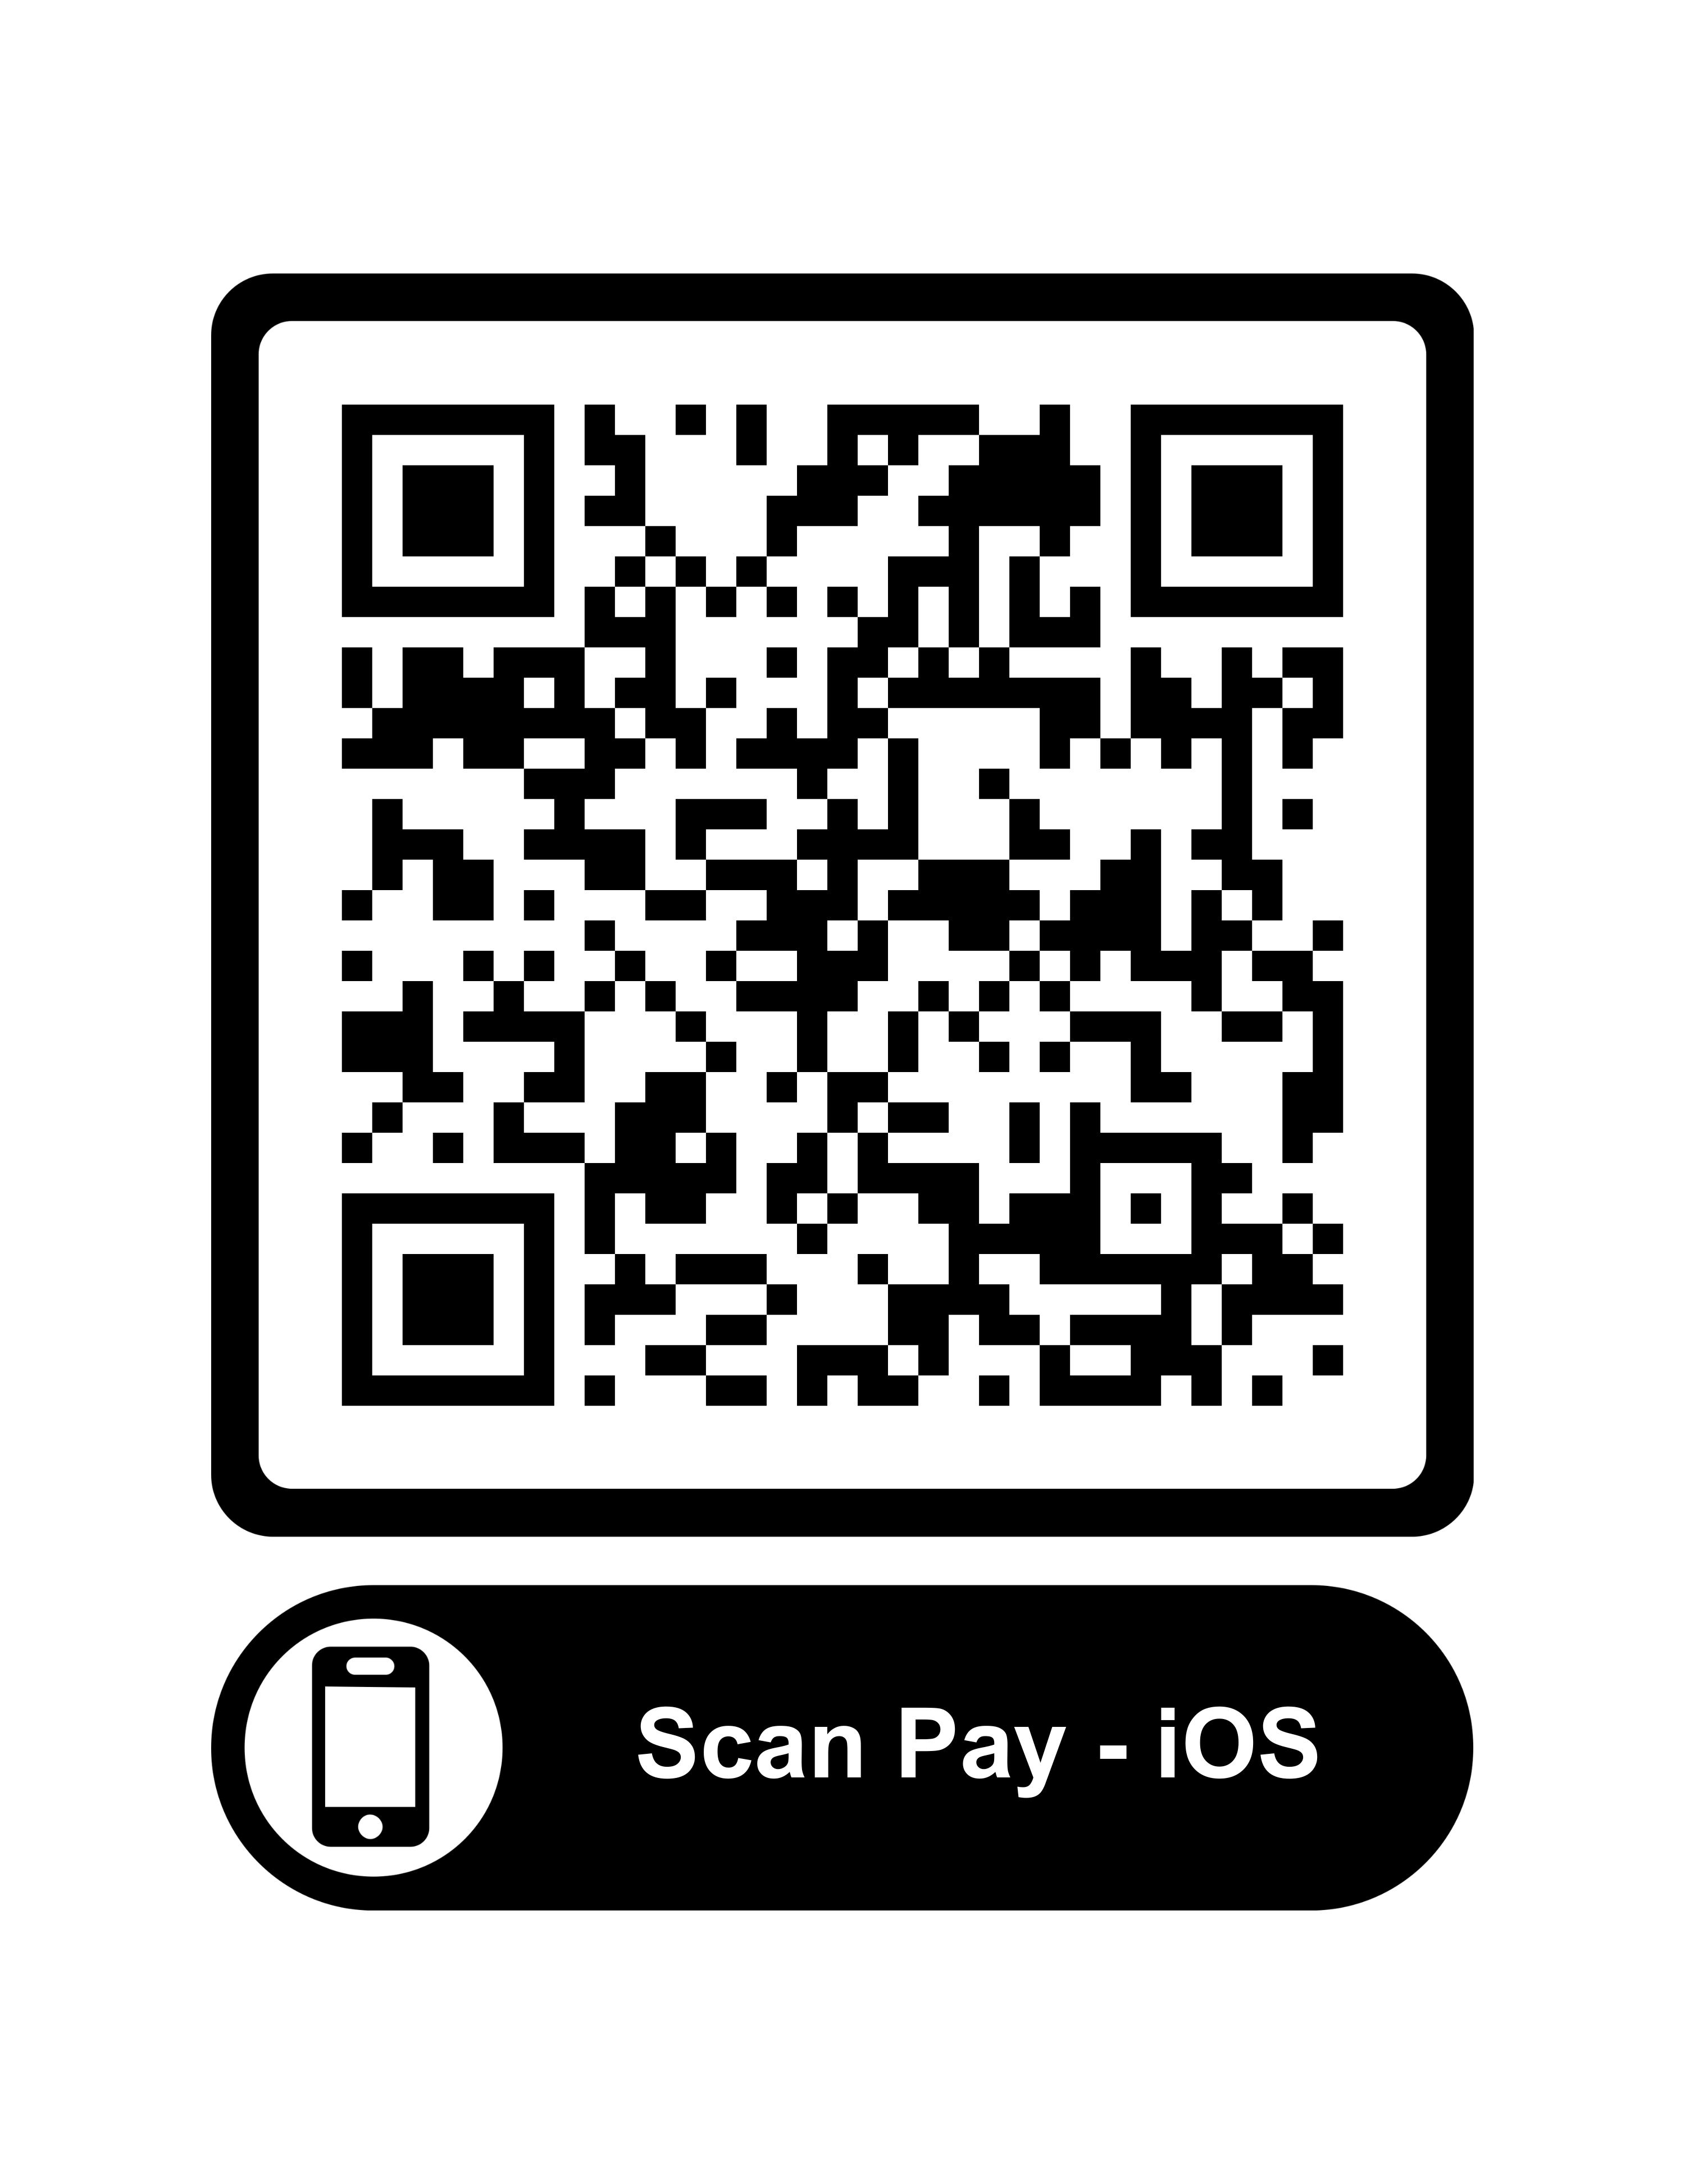
iPhone
App Store — Scan->Pay
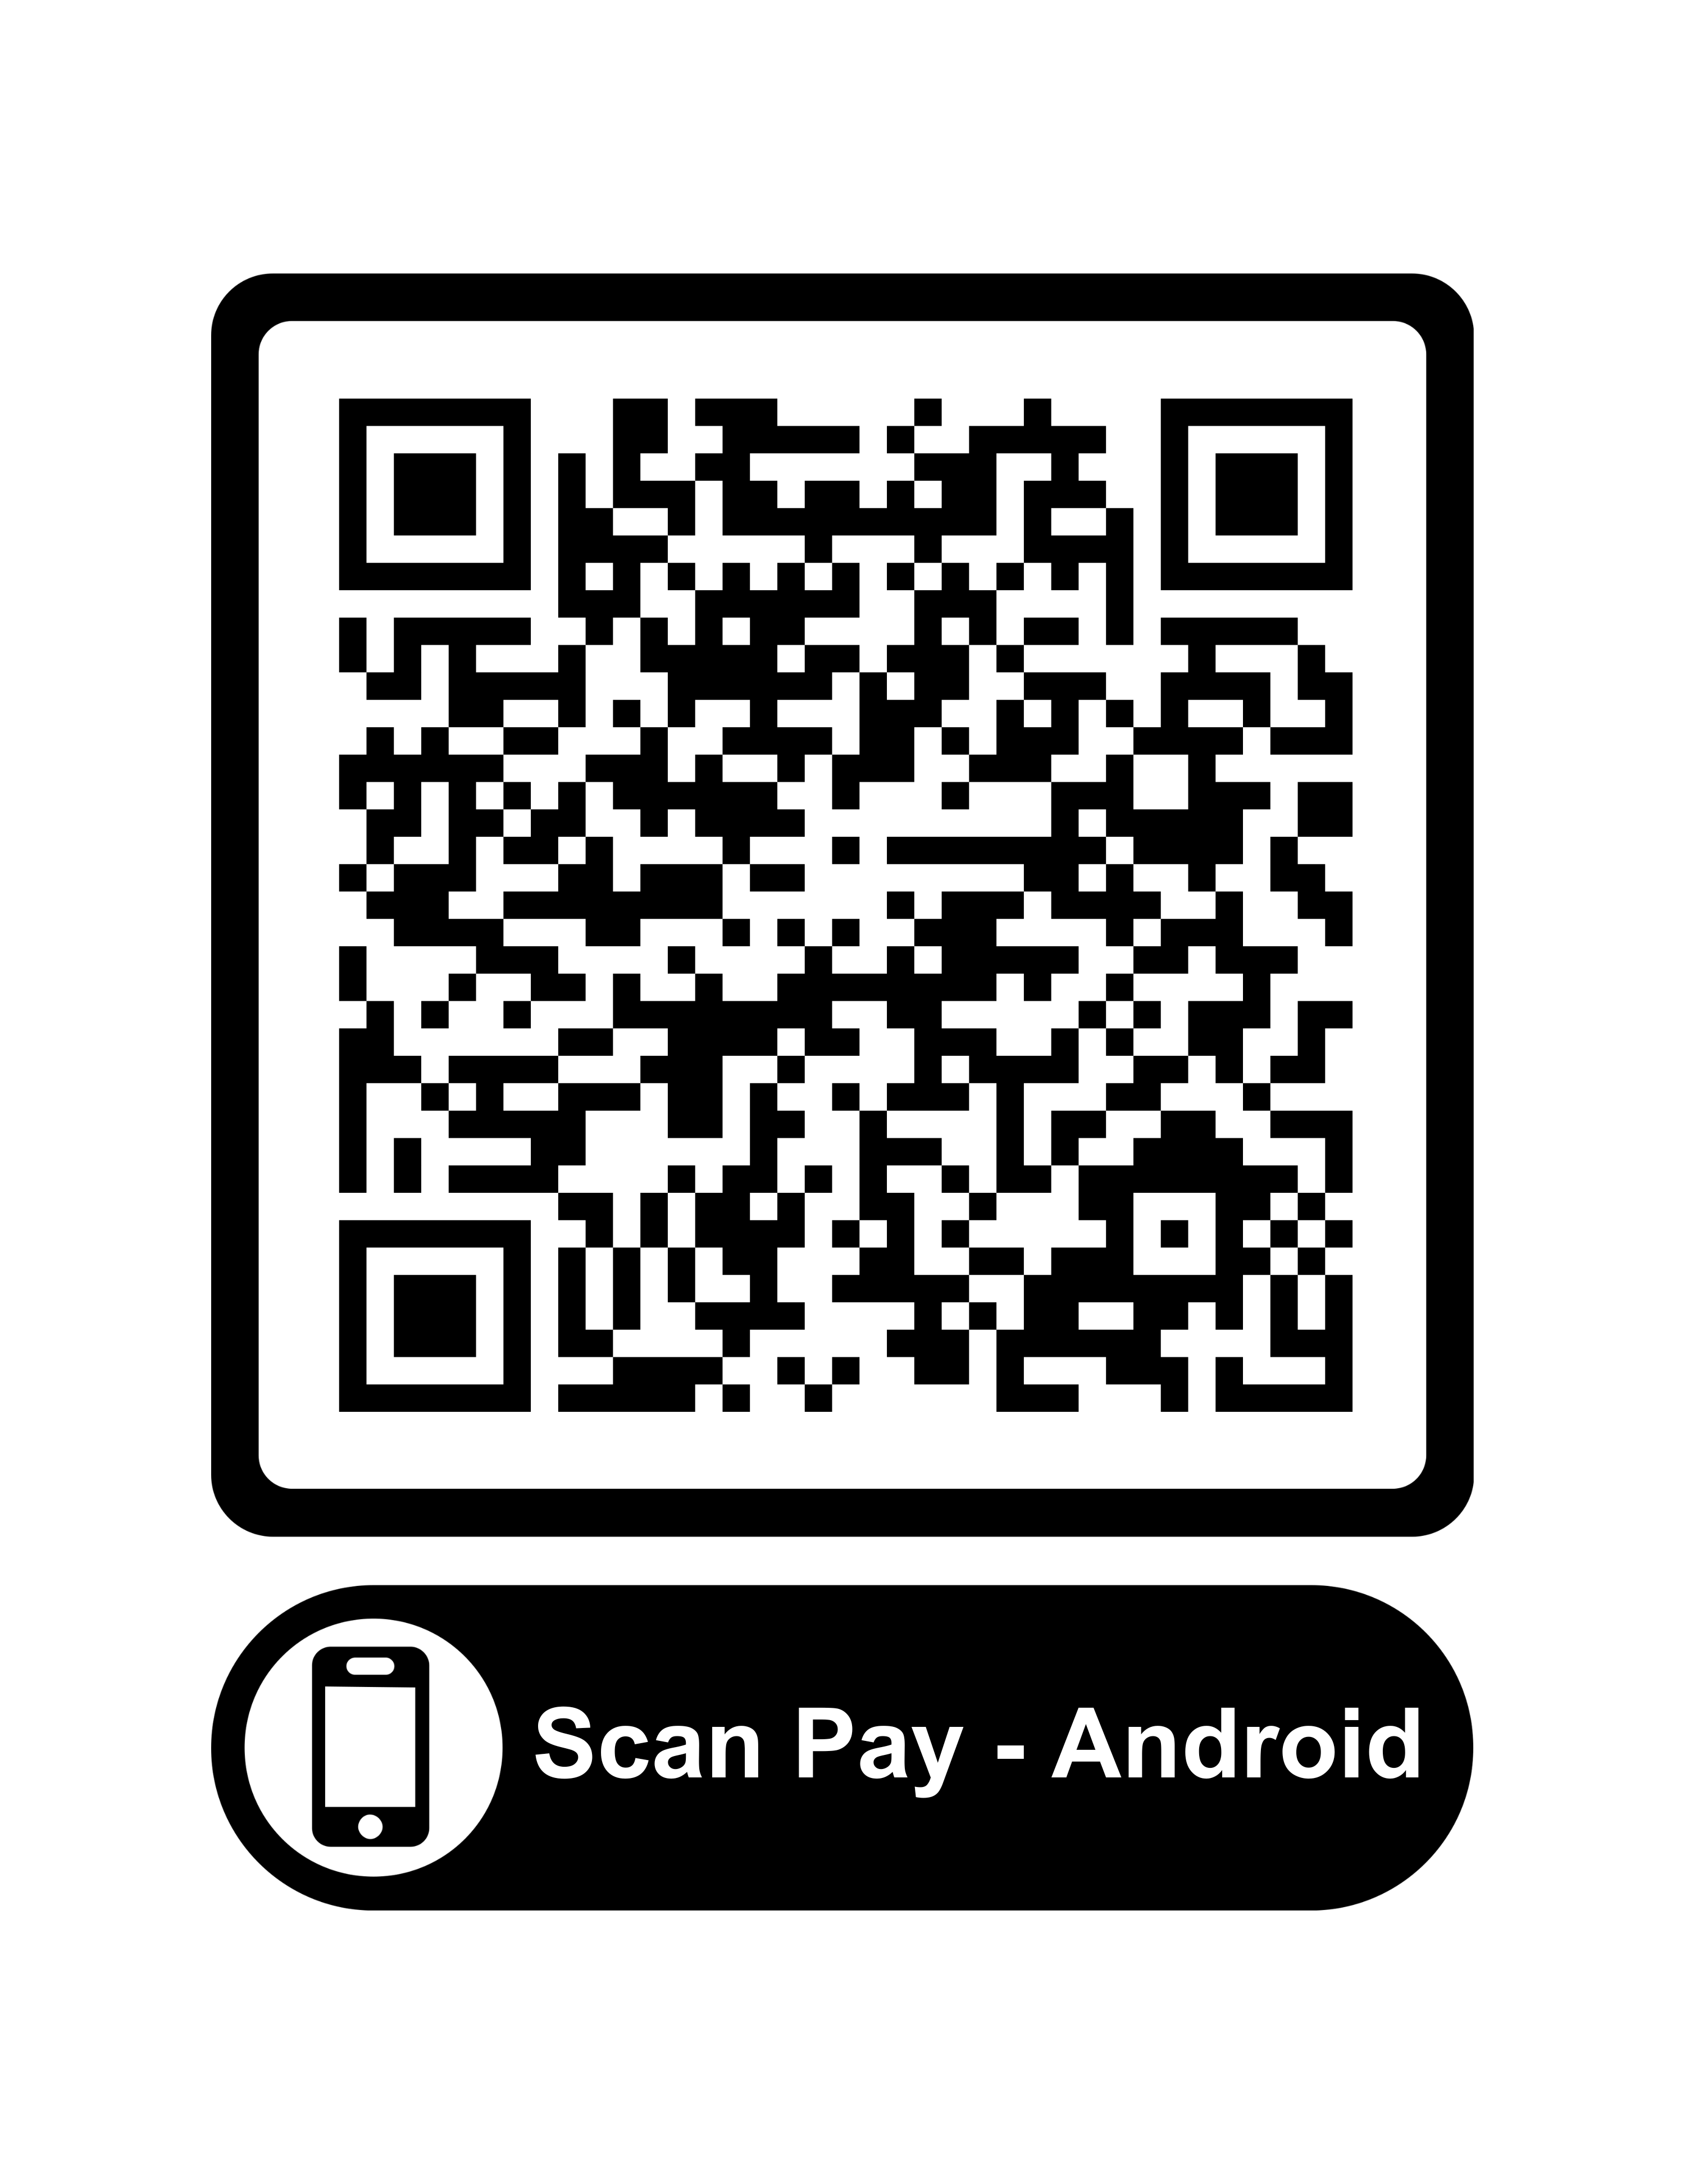
Android
Google Play — ScanPay
On the App Store the app is listed as Scan->Pay; on Google Play it is ScanPay. Telling a customer to “search for ScanPay” can therefore send an iPhone user to somebody else’s app. Use the codes on the customer notice, or the links above, rather than asking anyone to search by name.
Video: Wi-Fi mobile payment demo Video: ScanPay app demo
You must complete Part 3 first — both the price and the payment gateway. The two videos above show the difference between the connection options only.
Part 2.2 — Time format
Here you choose how the run time is shown on the main screen — as minutes and seconds, or as hours and minutes.
Time Format:
Min:Sec Hour:Min
Note: This setting determines the operational duration and will be prominently displayed on the main screen. Time accumulation occurs with each successive trigger, whether initiated by Mobile Payment or coin payments.
Which one to pick
- Min:Sec — for anything that runs in minutes: a washer cycle, a shower, a vacuum, an air compressor.
- Hour:Min — for anything that runs for hours, where counting seconds would be meaningless.
Part 2.3 — Custom LCD text
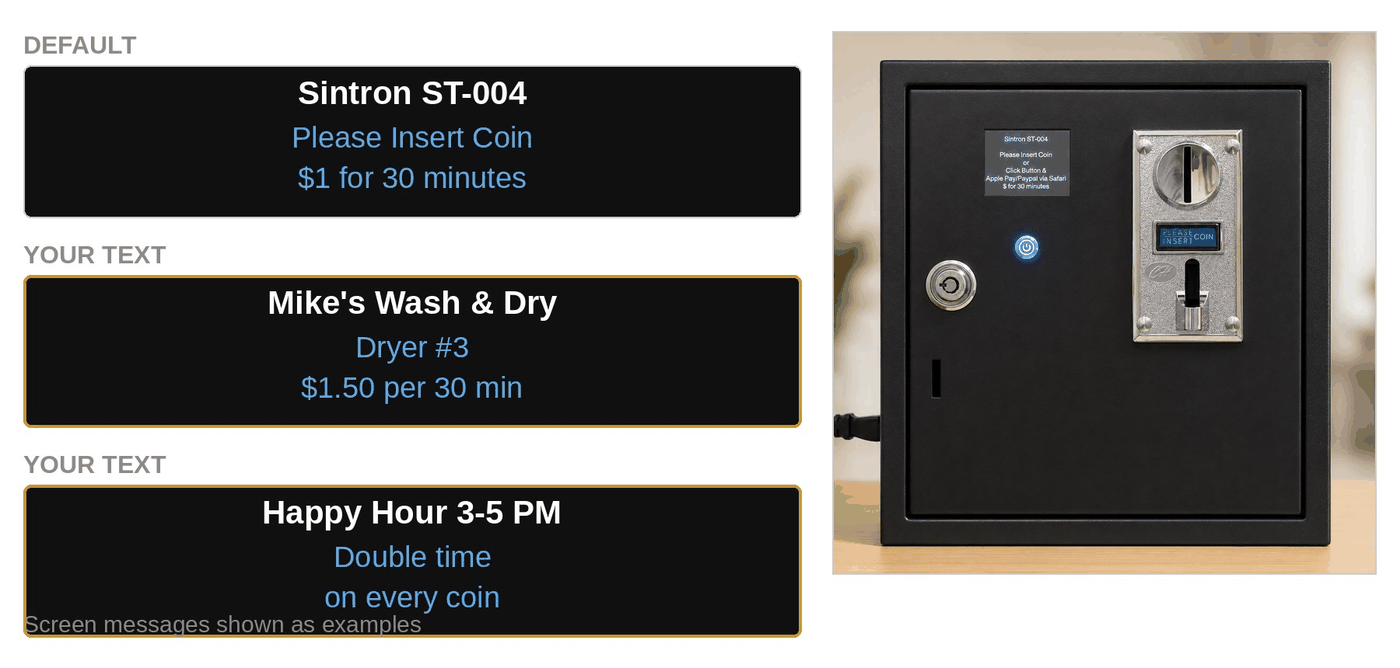
This is the screen your customer sees before they pay. For most customers, it is the only instruction they will read. You write it yourself, as seven lines of text, and whatever you type appears on the display exactly as typed, top to bottom.
Display on Main Screen: This information will be displayed on the screen while waiting for payment.
Below is the same screen on a real unit, with two examples of what custom text can look like.
Part 2.4 — LCD brightness
Just one number, from 1 to 100. It only changes how bright the screen is — nothing else about the machine changes.
PS. Min 1 ~ Max 100, This is to Adjust the brightness of LCD.
Set it high if the machine is in a bright room or near a window — a screen that is too dim is a screen nobody can read. Set it low if the room is dark, if customers stand close to the machine anyway, or if a bright screen would be annoying at night.
Part 2.5 — Email reports and no-payment alert
The unit can email you a report, so you can see what happened at a location without being there. Tick the box, enter your email address, and save.
Notification:
Enable Email Notification (BETA)
PS. Fill in your email address. A report will be sent to your email every 24 hours.
Once turned on, the unit sends you two kinds of email:
- A report every 24 hours — shows coin and mobile payment totals separately, with the device name.
- A no-payment alert — a warning email if 24 hours pass with no payments at all.
So on a day with no payments, you get both emails: the report showing zero, plus the alert.
A zero day is worth checking out. It could mean a jam, a load left sitting in the machine, or a power cut — but it could just as easily be a quiet day, a holiday, or bad weather. Treat it as something to check, not proof that something is broken.
The machine must be connected to the internet for these emails to be sent.
Part 2.6 — Off hours scheduling
Set quiet hours, and no payment works during that time — not coins, not the app, nothing. Coins are rejected and returned, so the machine cannot be started at all. Once the quiet hours end, everything goes back to normal by itself. This is useful if the machine is in a shared building, basement, or apartment block that should not be running late at night.
OFF Hours (only works when WIFI connected)
Daylight saving time (DST)
Time Zone:
for example, from 22:00 to 7:00 = 22pm ~ 7am, from 07:00 to 16:00 = 7am ~ 4pm
use this when you don’t want noised during midnight. machine would stop accept payments
The machine must be connected to the internet for off hours scheduling to work.
Setting the window
- Time zone — choose the time zone where the machine is, not where you are. The schedule follows the machine's clock.
- Daylight saving time — turn this on or off to match your local clock, so the schedule stays correct year-round.
- from / to — use a 24-hour clock (Hour:Minute). For example, 22:00 to 7:00 means 10 PM to 7 AM the next morning — it's fine for the window to cross midnight.
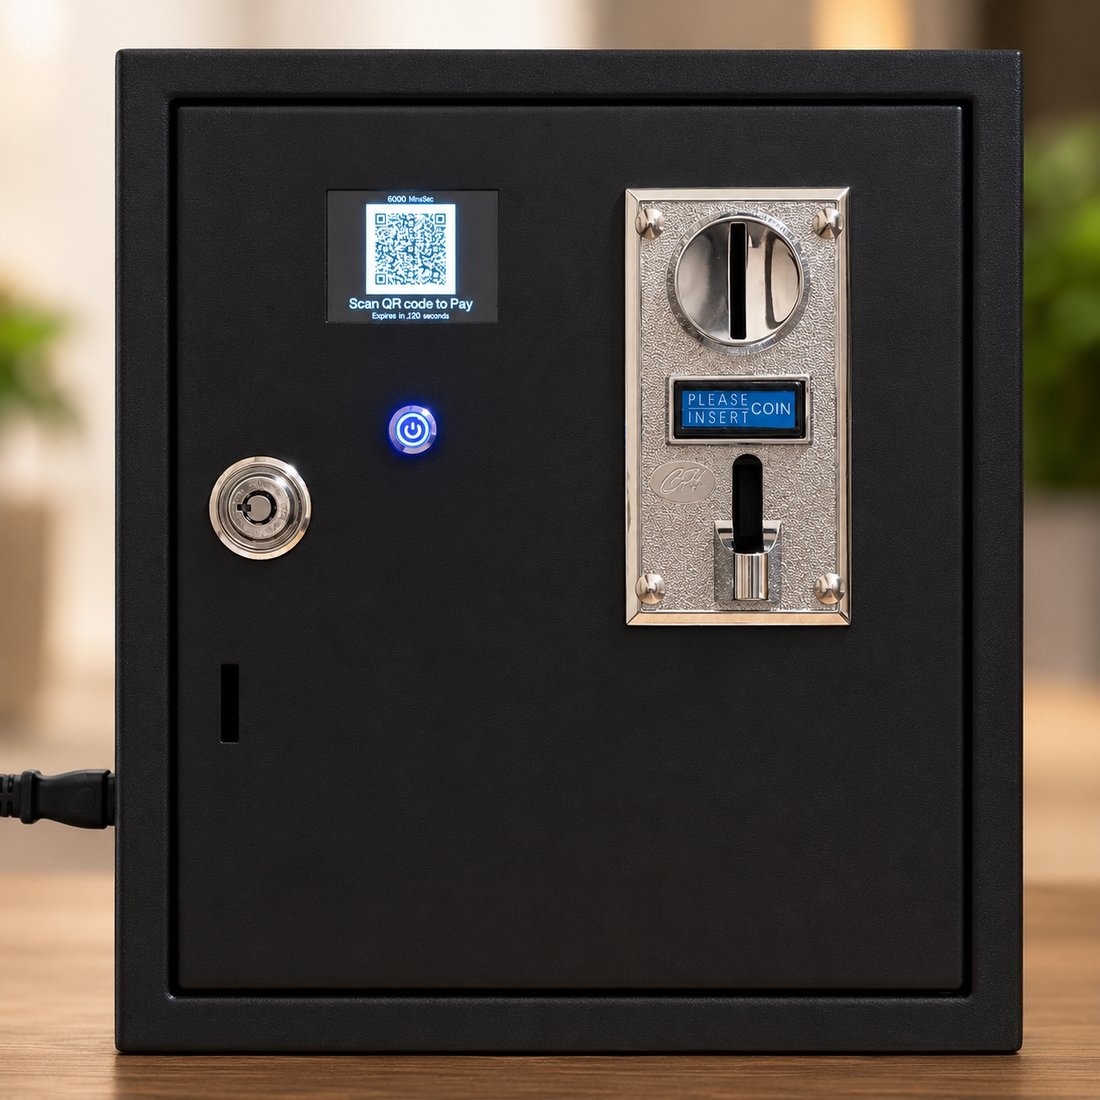
No customer can pay and lose their money: during quiet hours, coins come straight back out and phone payment is turned off, so there is just no way to pay until the window ends. The screen shows the time zone and when the machine turns back on, so people know to come back later instead of thinking it's broken.
Part 2.7 — Manual firmware update
You have the ability to turn it on and manually update the firmware whenever you need to, later on.
Manual Firmware Update
Enable Disable
Disable for Safety.
Part 2.8 — Saving your changes
The bottom of the setup page has a single button. Press it once and everything you changed on the page is stored.
Part 2.9 — Factory reset
At the very bottom of the page, below the Save button, is a factory reset. It puts every setting back to how the unit shipped — a way to start over if the settings get too messed up to fix.
Factory Reset